Showing posts with label panzer. Show all posts

Tuesday, 6 March 2018

ACT GT Fashion On The Field

At the ACT GT this year I took some snaps of the armies on display. There were as usual a high level of painting on display with some players presenting very nicely turned out forces.

I have had these pictures for a while and have been slack in getting them up on the blog! Still, here they are in all their glory.

If you are interested in the event itself, you can find my report here.

DAK and Italian Tanks
Crusaders and Grants.
British Motor Rifles and Crusaders
Crusader Company ready for battle.
US post battle
Ken's DAK with Display Board
Robert's Brits
Yank Tank.
Every Armoured Car and a Tiger
All the Crusaders
Germans
US on display
Stephen's US forces.


Monday, 2 October 2017

AAR - V4 MW Counter Attack


I had a great game against Trick at MOAB Last weekend. We played on day 2 at 80 points. The tournament - Baptism of Fire was v4 MW and was split into 3 different 1 day events. Days 1 and 2 were 80 points and day 3 was 100 points. Trick (TO for MOAB and Aussie ETC Captain) asked Battlefront to make available the soon to be released Italian M14/41 cards. The tournament also allowed build cards. Both of these measures were designed to provide as much variety as possible.

So it was to be all German affair as my DAK Tanks Company took on Trick's DAK Tanks.

Trick's list was:
HQ - 1 Panzer III
3 Panzer III short 5cm
2 Panzer IV short
3 Panzer II

HQ 1 x  Sd kfz 221 MG
2 x 222 and 2 x 221 2.8cm
2 x 222 and 1 x 221 2.8cm
2 x 8-rad

Support
1 x 88
3 x M14/41
4 x Marders


My List was:
My force. 1 Panzer 2 is camera shy.

HQ - 1 Panzer III
3 Panzer III short 5cm
4 Panzer II

Support
4 x Marders
4 x Schleppers
4 x M14/41

Trick chose Maneuver and I choose Attack. We rolled up Counter Attack and because I chose the attack stance, I attacked. Trick chose a terrain dense quarter and I choose to make him move across the length of the table. Trick put him objective as close as possible to the quarter he would have to move to. I placed mine right in the back corner as far as possible.

I will refer to all directions from my left or right. Apologies, I didn't take a photo of deployment.

Deployment:
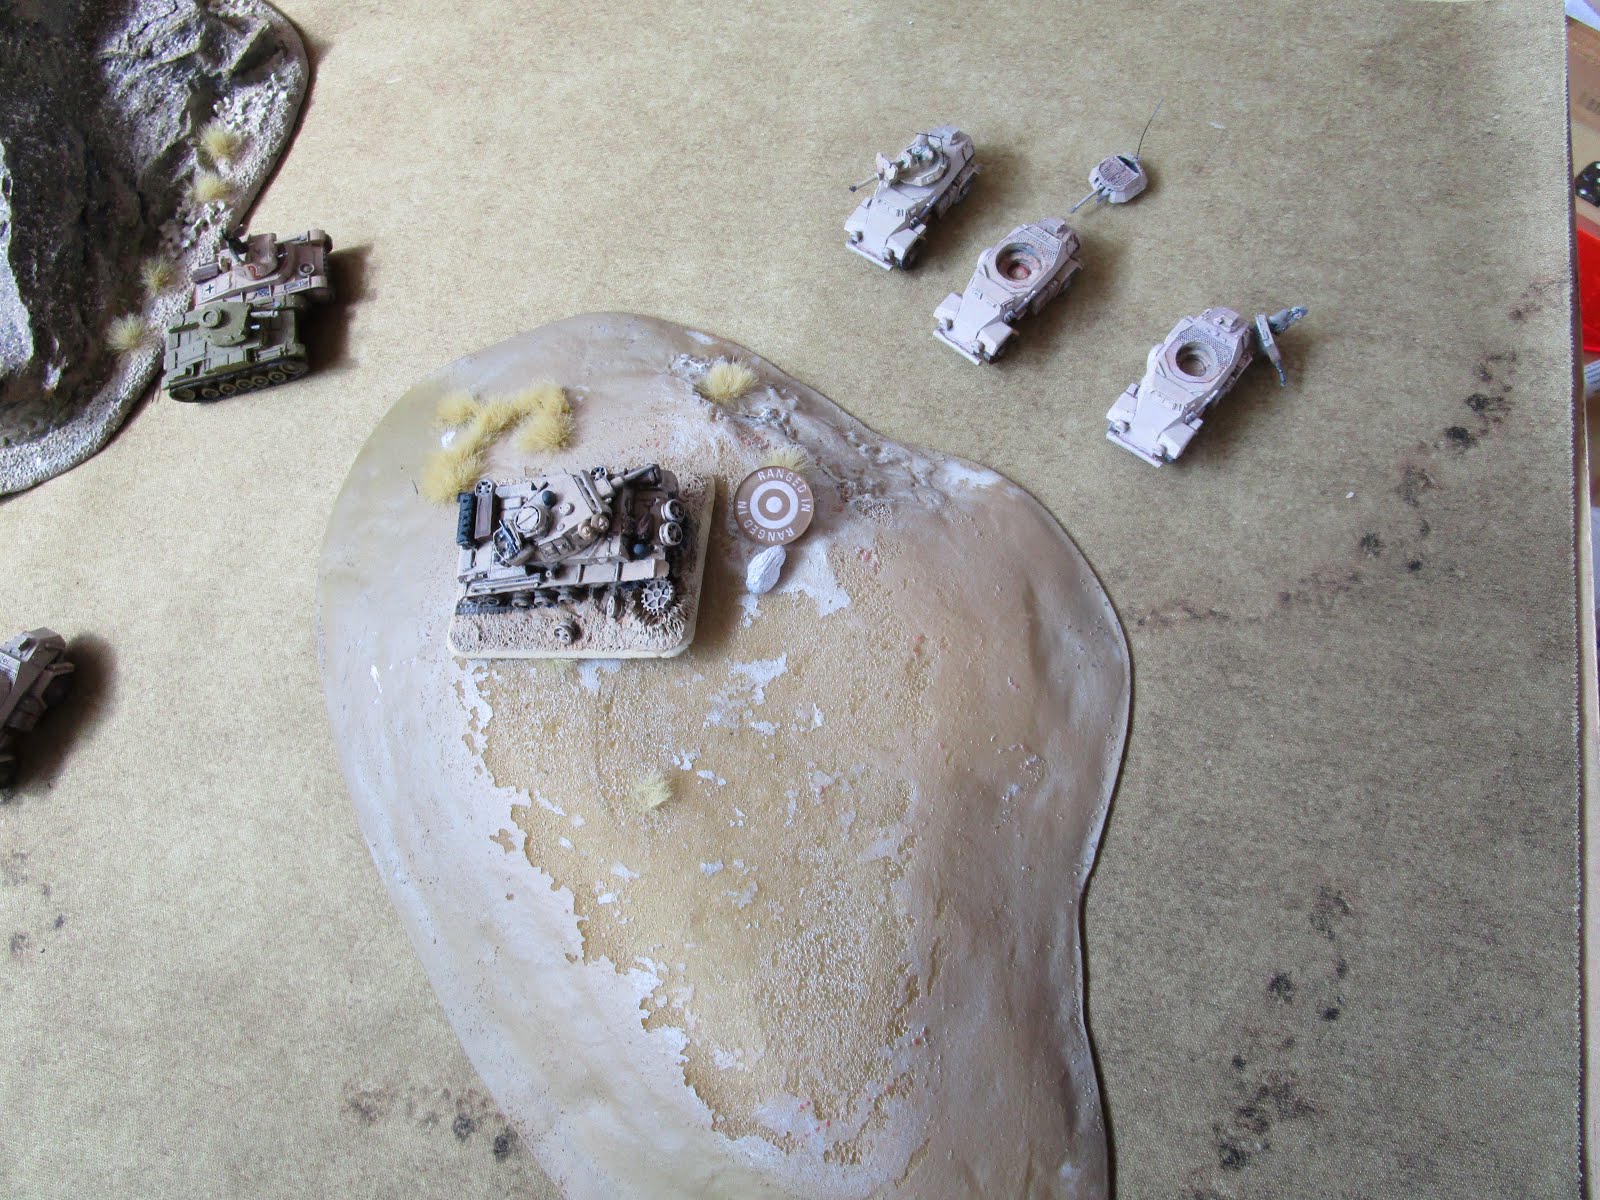
Trick placed all his Panzers except his Pz2s in reserve. The M14s and unit of 222/221 were left back on my left to keep me honest. Trick started with a spearhead of his armoured cars towards the right objective. This allowed him to reach out to just over 16" from the far objective. He deployed 2 units of armoured cars, 8-rads and the 88 just to the right of the central village. The panzer 2s and the 221 HQ were left loitering behind the buildings. The Marders were in ambush.

I also spearheaded with my PzIIs to just short of the railway line. This allowed me to setup my Marders hull down on the hill to the right of my deployment area. All the other units were able to deploy on or near the hill. Virtually all had a shot on the enemy.

Turn 1.
The PzIIs moved up with 2 having a bead on Trick's PzIIs. A unit of Panzer 3 moved to the right from behind the hill to get a shot. Ever one else stayed still. I started with dropping a 15 cm Schlepper barrage on most of the armoured cars and an 88 in the open. I didn't do much damage, bailing an armoured car from 2 different units. All the other units opened up. When the dust cleared, a unit of 4 armoured cars were reduced to 1, the 8 rads were down to one bailed vehicle and the PzIIs were down to 2. A pretty good start.

Trick remounted and passed the last stand on both the 8-rad and the remaining 222. These 2 would be a pain in the neck for the rest of the game. The Marders sprung from ambush in about the only available spot to my left. No reserves arrived.

The 8-rad and remaining 222 were moved to safety behind the wood in front of the right objective. The Italians and armoured cars from the deep left started the long trek to the right. A second PzII peeked out for a shot.

Ambushing Marders and redeploying M14s and ACs
The Marders picked at my left hand unit of PzIIIs, taking one down and bailing 2. Lucky for me. The 88 missed as did the armoured cars and PzIIs. Not a great round for Trick.

Turn 2.
I remounted the 2 PzIIIs. I moved up the M14s, the RH PzIIIs and PzIIs. I picked off another armoured car from the unit of 3. The LH PzIIIs and 1IC moved to the left to engage the Marders. I hit twice but only managed bails.

RH units advancing after the initial shooting
Trick rolled up a reserve and the PzIIIs arrived on the back RH corner behind my Marders. Crap! Thankfully for me, they got the memo about it being a training missing and missed! The 88 sniped a RH PzIII. The Marders bailed another PzIII after remounting.

Turn 3.
After a good start, things are changing quickly, the Marders are in a position to pick off vehicles from my back field, the 88 has a good arc of fire and my Schleppers cannot hit them. The reserves are starting to arrive and I am still some way from the objective. Trick is doing a great job of giving me lots of threats to deal with.

My Marders blitz and turn to face the PzIIIs, newly arrived from reserve. I roll pretty well and get 4 hits. I destroy 2 and bail the third. Time to move up. I move forward with my RH PzIIIs destroying another armoured car. My Italian tanks move up to engage the 88 but do no damage. The Schleppers range in on the Marders but do not damage either.


Panzer IVs arrive from reserve
The pesky 8-rad and 222 are still alive having made more 5+ last stand tests. They make a reappearance moving to engage my RH PzIIIs in the flank. The PzIVs arrive from reserve to join in against my RH PzIIIs and take one out from the flank. Trick's Marders disengage from the fire fight on my left to reinforce his center against my advance. The M14s, having arrived in the fight on my left bag a Schlepper. The remaining PzIIIs from reserve remounts and survives the last stand test to blitz and bag a Marder. The 88s and a armoured car destroy 2 of my M14s. The 221 HQ and a the 2 remaining armoured cars from the short platoon are now on the RH objective behind the hill.

Note the pesky armoured car on the right
Turn 4.
My LH PzIIIs remount to prevent a last man test. My Marders finish off the last PzIII on my right. My RH PzIII destroy a reserve PzIV. Despite loses, my PzIIs and M14s advance. They need to push on the objective if I am to stay in the game. My LH PzIIIs take out another M14. This is going to be close one.

You guessed it, the 222 and the 8-rad are still there and still running at my flanks. Thankfully they are not doing much damage either. The PzIV kills another of my PzIIIs and the platoon is finished off. The HQ PzIII arrives from reserves but is also on a training mission and does no damage. The 88 speaks again and kills another M14. My PzIIs are now exposed on their dash to the objective and one more dies. Trick's Marders are now at the back in position next to the 88 and shoot but cannot damage a PzIII.

Battlefield littered with armoured cars, my M14s and PzIIIs.
Turn 5.
My M14s fail their last stand. The Marders move out to the RH table edge to snipe at the 221 HQ stacking out at the back of the hill and manage to brew him up. The PzIIs, now in 4 inches of the RH objective hit but only bail one of the 2 armoured cars on the objective. If he doesn't remount, he will be taking a last stand. I manage to destroy the 8-rad and the 222 that have been holding firm all game. I throw everything at the remaining PzIV and nab it. The Panzer formation will auto-break next turn.

And....

The 222 doesn't remount..


And...


...

...

Fails it's last stand. That leaves just one platoon in the Armoured Car formation so they break too. No formations alive and the game is over 7-2. What a close one.

And the end. PzIIs and Marders (outside of pic) deal with the last of the ACs
A really close and enjoyable game that could have gone either way. I am really enjoying MW v4 and hope to play much more of it. I hope you enjoyed this AAR.


Monday, 26 June 2017

DAK Panzer Company - Complete.

Afrika Korps on the move.
Today I show off my newly finished Panzer III Company.

The Army Assembled

HQ - 2 Panzer III short 5cms and an objective
When I go about building a new army, I normally go about collecting units and then assemble several lists. This time around, I created a 100 point, v4 list from the Afrika Korps book and went about building just those units. Despite having to wait for some boxes to come back into stock, the army came together quite quickly.

Panzer III Short 5cm
As I pulled the figures out and laid them out for the obligatory photo shoot, I realised that the 5 units are actually built from 4 different brand models. They seem to fit pretty well together though.

Marders
The 100 point army list again is:

Panzer III Company

HQ
2 x Panzer III short 5cm

Combat Platoons
4 x Panzer III Short 5cm
3 x Panzer III 7.5cm
4 x Panzer IV Short 7.5cm
3 x Panzer II

Support Platoons
4 x Marder

Panzer IIs

Panzer III 7.5cm
Panzer IV Short 7,5cm
I also painted up a pair of 8-rads which are not actually part of this list.

8-Rads

I hope you enjoyed this project as much as I. Now to get them on the table!!

Sunday, 25 June 2017

Painting: PSC Panzer III J Early

Today I share my PSC PZIIIs


I recently recently posted up a review of these beautiful models. I think these are my new favourite plastic kits. Check my review, but I cannot say enough good things about the PSC Panzers.


Painting was per my standard DAK style. You can find that scheme here.


When it came to painting, this kit didn't let me down. The details were crisp and easy to identify, whilst still being in a restrained, realistic style (as apposed to the exaggerated Battlefront style). The large amount of running gear, stowage, tools and equipment really allowed opportunities to pick out details.


I painted and decaled these as part of 15. Panzer Division, I. Division, 2. Company along with the rest of my DAK force.


I hope you enjoyed this post.

Friday, 23 June 2017

Painting: Zvezda Panzer II

Today I share some freshly painted and decaled Panzer IIs.

I previously reviewed these awesome little models here. I was really impressed with these tanks. They are designed well and require a minimum amount of assembly and fuss. Despite the plastic on the models having a slightly glossy finish, they held paint really well. I followed my now standard paint scheme. You can find details of that here.


I have chosen to model my Panzer III DAK force as 2. Company, I Battalion,15 Panzer Division. Historically the 15th had a single turret number of their models to depict the company. In this case, the 2nd company. I have also added decals for the the DAK stylized Palm symbol. After a fair bit of research, I managed to get the company number right for the Panzer IIIs and IVs (watch this space), but the Panzer IIs wrong. They should be from 4. Company. and therefore have a 4 on the side. Bummer!


The steps I took to apply the decals were:
  1. Paint the area to have decals in Vallejo gloss varnish.
  2. Cut out the decal and soak in water.
  3. As the decal is soaking, paint the area in Vallejo decal medium
  4. Push the decal onto the model from the backing paper using an old brush
  5. Position it with the brush and when right dab with a tissue to remove excess liquid.
  6. Leave to dry for a minute or so and paint gently with decal medium


I have only used the Vallejo brand but there are others that I have seen people use that are probably as good. The key is to use the gloss varnish first to give a nice flat surface for the decal to attach to and then the decal medium to help the decal fit to the models surfaces and prevent frosting when you get to the final varnish stage.


Once the decals were done and they had dried overnight, I painted the whole models with Vallejo Matt Varnish.


I hope you enjoyed this article. Stay tuned for the Panzer IIIs.


Saturday, 17 June 2017

Review: Plastic Soldier Company Panzer III J

Today I dish up the last review for my DAK tank force. You might call it is desert dessert.


My DAK tank project is gathering pace and I can see the end in sight. With the Panzer IIs underway, these Panzer IIIs will be the next and final unit I need to paint for my 100 point force. Of course, that doesn't mean I wont make changes and go looking for new models once I start playing with it!


History:
It seems a long while ago now but you can find historical information about the Panzer III in my earlier reviews here and here.

Review:
First up, I was very pleased to see not only a clear inventory page that shows you what pieces are for what models, there was a full set of instructions. This has been lacking in some of PSCs kits. This is a reasonably simple kit but clear and complete instructions remove any doubt.


This box is not new so I am not breaking new ground here. The good news is that this kit, whilst old enough to be around a while, is new enough to have one piece tracks. Having assembled 21 sets of multi-part T34 tracks, I was very happy to see the one piece tracks for the panzer IIIs.

Inventory Sheet
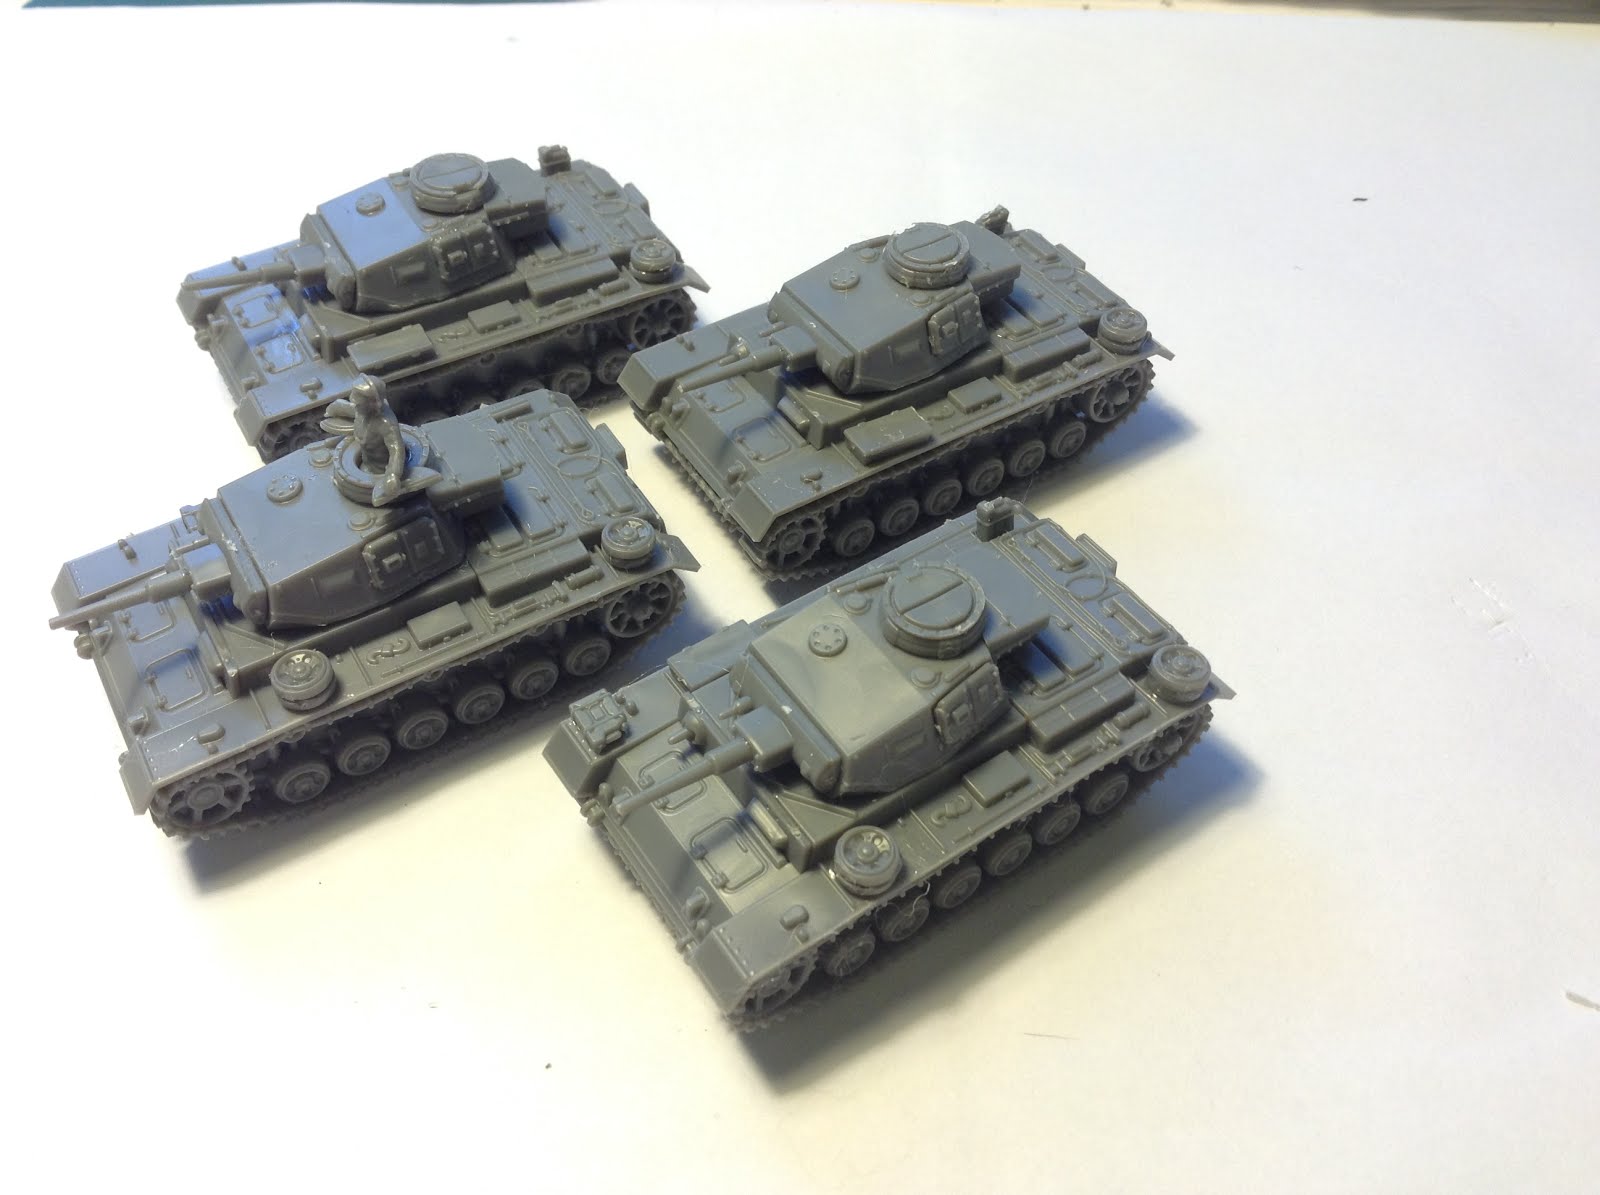
The box contains 5 frames. Each frame has all the parts to create either a Panzer III J, L, M, N or a flame Panzer. I need four short 5cm Panzer IIIs, so I have chosen to assemble mine as the early J model. The 5th frame will stay in the drawer until I have a need for another Panzer III. The frames are packed with barrels, mantles, and all the options required. The frames also contain schutzen and stowage.

Instructions.
 After clipping out the pieces, there was really very little cleanup required. All the pieces went together without issue and compared to some of the more complex PSC models, this one went together very easily. There are some nice features that prevent error. For example the front hull piece can only go on one way. Likewise the tracks have guides to prevent them being installed on the wrong side. Simple stuff, yes, but appreciated.


The pieces are really nicely detailed are the hull especially is covered with running gear. There is a coiled tow cable, plenty of tools, a jack, lights, tow hooks etc.


These are simply lovely models and I cannot wait to paint them! I hope you enjoyed this review.


Thursday, 15 June 2017

Review: Zvezda Panzer II


As regular readers will know, I have been working on a DAK tank force for FOW V4 MW. I have so far painted up a commander, 2ic, a platoon of Panzer III short 75s, 8-rads and some Panzer IVs. I ground to a halt after my order for some Panzer IIs and Panzer IIIs was delayed. The good news is that these last 2 units have arrived and I can start work on them. So, without further ado, here is a review of the Panzer IIs.


History:
In 1934, the Panzer II was designed and entered production when delays to the proposed Panzer III and IV became known. The Panzer II was equipped with a single 20mm auto cannon and a coaxial machine gun. Far from a temporary measure, the Panzer II was the must numerous vehicle during the invasion of France. It also served in Poland, the desert and the eastern front.


By 1942, the vehicle was obsolete. New Panzer IIIs and IVs were the main stay of the German forces. The Panzer II chassis were re purposed for new designs like the Marder II. Likewise, in typical German recycling fashion, the Panzer II turrets were used for gun turrets in defensive positions.


Review:
Being that I only wanted three Panzer IIs for my starting force, I went with Zvezda who sell individual models. Each box only contains a single tank.


To say this is a simple model is an understatement. There are only 5 pieces! The turret, the hull bottom, the hull top, the left track and the right track. My assembly only took a minute or two. There wasn't much in the way of cleanup and the pieces all went together well. The longest part of the process was trimming the moulding attachments from the pieces.


The model is well cast and there is a reasonable level of detail. Like all Zvezda kits, there have been come compromises made and some of the detail is very boxy. However what is modelled is clean and crisp.


Conversions:
Like all Zvezda kits, there is no flexibility. No stowage, no open hatches, no commanders. This is well known and not really an issue. I chose to add a commander and model an open hatch. I used a spare plastic soldier commander who I removed the circular base from. I then trimmed down some spare hatches from the spares box to create the 2 halves of the open hatch.


Finally, not happy with the simple clean model, I used some spare PSC stowage and added spare track, spare road wheels, crates and jerry cans. I think this will tie the models in with the rest of the army.

I hope you enjoyed this review.