Showing posts with label LW. Show all posts

Thursday, 1 February 2018

Tournament Report - Cancon 2018 - FOW


Cancon is hands down the largest Wargaming event on the Aussie Calendar. This year was the 40th Cancon and like those before it was not to be missed. Cancon, being a national event is the one weekend that draws players from all over Australia and occasionally overseas. Aside from the numerous competitions and campaigns, there are lots of participation games, a large board game area, traders, a 2nd hand stall, roleplay games and even Cosplayers. Something for everyone.


This year there were no less than 6 different FOW and TY events. In the past few years I had played during the day and night flames but this year I setting on Mid War v4. The total list of events were:


Mid War V4
Early War Campaign
Team Yankee
Team Yankee Campaign mm)
Night Flames Arab Israeli
Night Flames Late War`


I suspect the total FOW and TY numbers were down slightly on past years . We had a very healthy 22 players for MW. Given the newness of the rules and the fact that there are only 3 books out, I think this is pretty good.


Caunter Corner
Players could select 80 points of troops with up to 10 points of cards. Only the 80 points of troops counted towards reserve calculation.


I ran my newly painted Crusader company with some 17/25 pounders, Carriers, Infantry, Bofors and Hurricanes. Over the 8 games I played a variety of different forces - German Tanks,  German Infantry, German Armoured Cars, British Crusaders, British Grants and a US Tank force. The top four players were running British Crusaders, German Armoured Cars, German Infantry and British Grants. Every British army I saw seemed to have Scout Tank and this is still a problem. I think that is a pretty good spread and highlights that MW V4 is otherwise largely balanced.


Interestingly, I played against 2 different German lists with Tigers. Even at these low points, they can be a threat. I don't think they can work with DAK tanks but certainly can with infantry or mechanised Companies.


The MW tournament was well run in the capable hands of Trick and Ben. I didn't see any major issues or heated arguments. The hottest anyone got was the warm pavilion where the air conditioning struggled with 30 plus degree temperatures and too many sweaty gamers.

Darren's Bunkerflak
EW Eastern Front Campaign table
I didn't have a lot of time to look at the other FOW and TY events but I had time to snap a few pics. These events also seemed well attended and the players having a good time.


Nappy game on Monday
Trick doing TO stuff


Some of the lovely desert terrain.
Ben not doing TO stuff
It was this long...


Tuesday, 12 September 2017

Pimp My Ride 3 - Battlefront Daimler I

It has been a long time between posts. Real life has got in the way of hobby time of late. I have been overseas for a few weeks and then moved house! The good news is that I have cleared out a little space in my study and I have picked up the painting brush for the first time in a month.

A while back I shared a review of the Battlefront Daimler I. In summary, this is the cutest armoured car in toy town. The review covered 4 blisters of new Daimler Is. I also had some of a mates that needed pimping to match. You can check out the earlier cut and shut articles here and here.

So like the earlier repaints, these models needed some modelling attention before a repaint. After a brush off to remove dust, here is how they looked:


The hatch and commander were missing from the command vehicle. I found some in the spares box. Next I had to remove the side panel which was glued to the front.

I then removed all the wheels, cleaned up the old glue, flash and mount lines. Finally I glued in the commander, hatch and side panels.


The painting was fairly straight forward and I followed the same scheme that you can find detailed in the links above.


Here are some pics of the finished models.


These will be used along side the other 2nd Household Cavalry.


Sadly I didn't have enough decals for unit markings but they do have guards markings.


I hope you enjoyed this article. It is good to be back..


Monday, 24 July 2017

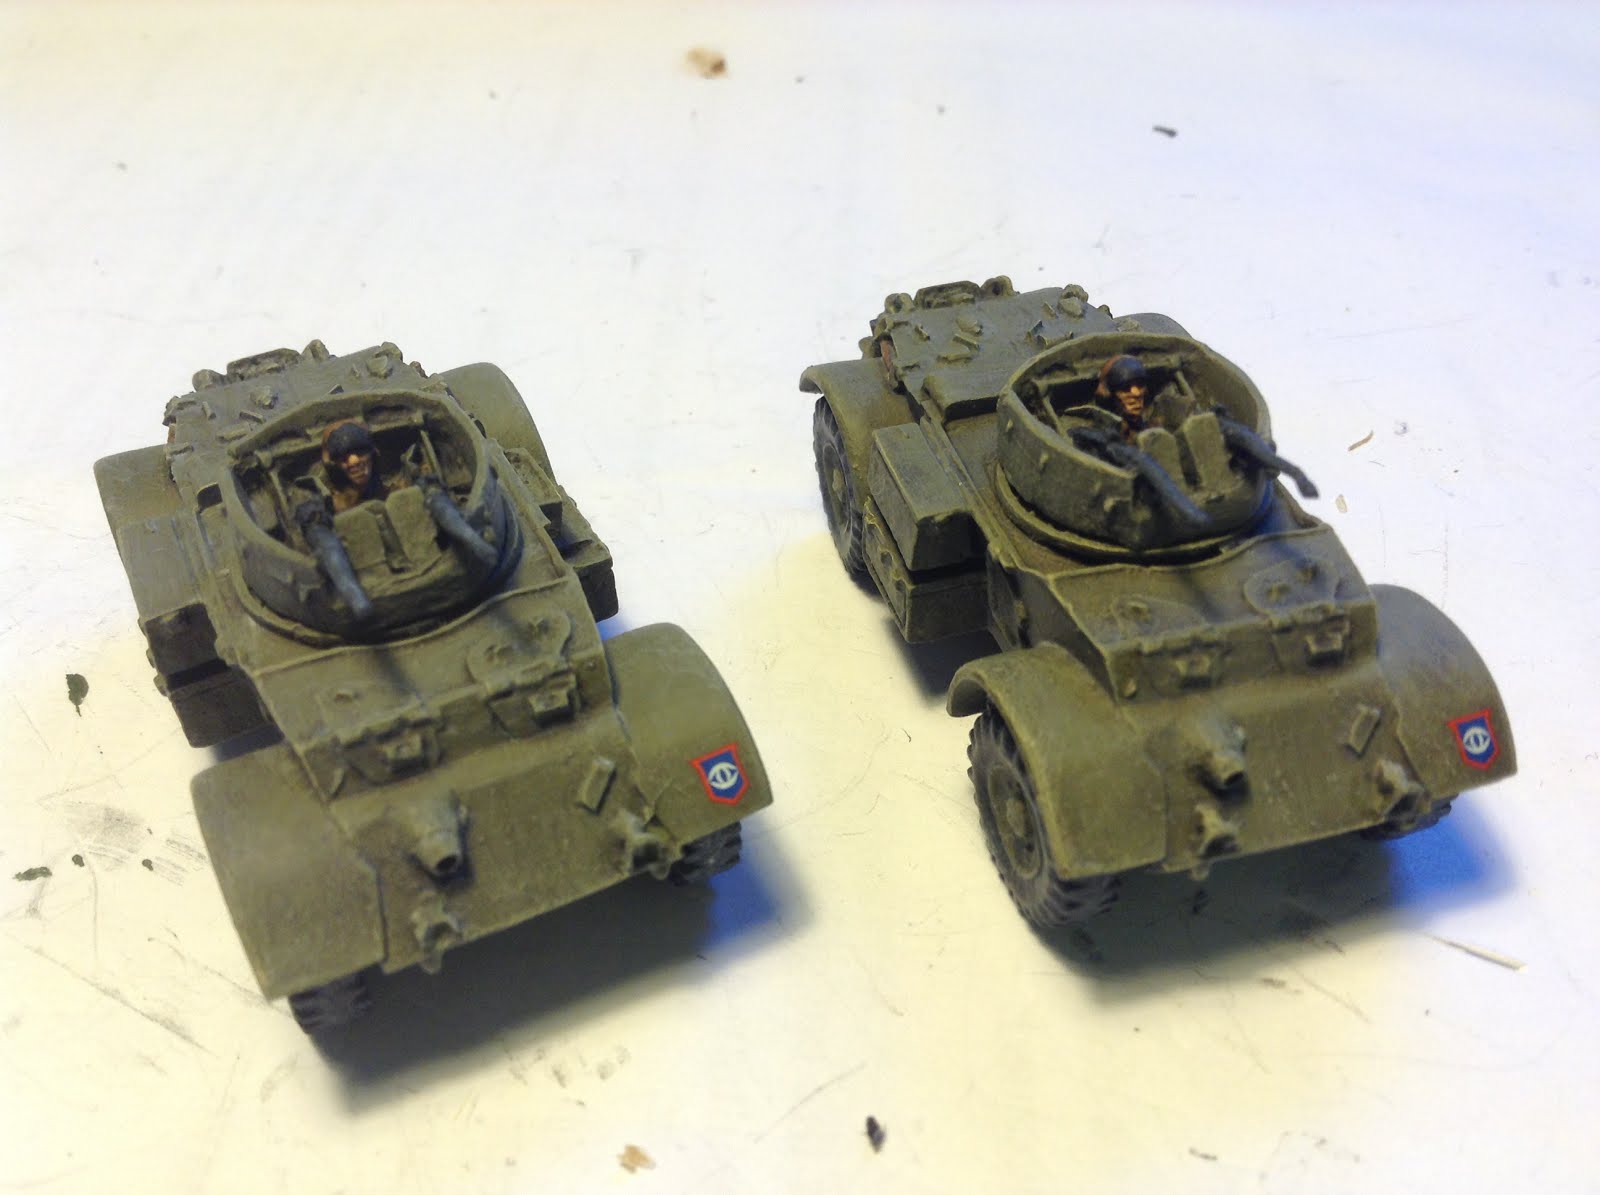
Pimp my ride 2 - Battlefront Staghound AA

Rolling out of the Garage is a vehicle that Mad Mike, well, wouldn't understand.

Much as I would like to install a fish tank in the back seat or a TV in the dashboard, I have gone for a more mundane approach to the restoration of these vehicles.

The Staghound AA is one of the options from Battlefront's standard Staghound blister. I reviewed the Staghound a while back. The Battlefront Staghound is code is BR350 and is available on the website.


Fully pimped. Well, repainted anyway.,


Like my previous article on the AEC IIIs, these old figures needed some work. Like the AECs, these were intact but needed cleaning up. One of the turret rings was detached from the hull so the old glue was removed and the turret ring was re glued. Unfortunately, the turrets didn't rotate at all and one had to be forced in. I used a hobby knife to run around the inside of the ring and slightly increase the diameter of the hole. They now both rotate freely.

The models after cleaning up ready for painting.
The Wheels were removed, cleaned of mould lines and glued back in. This made a big difference to the stability of the vehicles. They sit level now. You can see the bare metal on the wheels of the left armoured car in the picture above.


The 50cal machine guns were very bent and were simply straightened. They didn't appear brittle so should serve without breaking for a good while yet.


These models come with a 1 piece turret cast in metal. I think they look really good, however these had some flashing and mould lines on it. These were painted over previously which made them very easy to spot. After a cleanup, I noticed there was also some very minor pitting on the back of one of the turrets but this isn't too obvious and I just left it.


I will need to work out a method of designating the commander of this platoon. I didn't consider this until after I painted them up.

These are otherwise ready to roll. I hope you enjoyed this review.


Friday, 21 July 2017

Pimp my Ride - Part 1 - Battlefront AEC III


Check out whats in the garage. Time to Pimp My Ride.

A friend of mine has generously loaned me his British armoured cars. I will be using them at an upcoming competition. You will have noticed that I have recently added some Staghounds and Daimler Is to his figures. Whilst his figures do the job, they are a little tired could do with a touch up.

Fully Pimped.
I started with the AEC III heavy armoured cars. Whilst these have been assembled for years. They are available from Battlefront in the BR 342 blister. Like the rest of the British Armoured cars Battlefront make, these are very nice models.


As you can see, they have some chipped paint, some uncleaned flash and mould lines some unpainted components and are missing decals. Apologies for the crappy photos. I suspect there was some dirt on the lens of my camera.

The unit is made up of 2 AECIIIs and a Daimler Dingo.


I started the process with a brush off to remove dust from the vehicles. I then started cleaning off old flash and mould lines from the gun barrels, commander and wheels. I suspect these are really old figures as the superglue came loose from the wheels as I removed the old flash. Rather than risk any falling off later on, I removed all the wheels, cleaned up the flash and excess glue and re-glued them.


I didn't have time to strip these and start again so I pressed on with the painting. I followed my standard paint scheme. I think they are big improvement on how they looked before.


Sadly I have run out of decals but I was able to apply some Guards Armoured decals on the front and back.


I finished these up with a brush of matt varnish. I am pretty sure they hadn't been previously varnished. This should help to keep the paint on for a few years to come.


It has been fun restoring these old figures. I hope you enjoyed this post.


Thursday, 13 July 2017

Review: Battlefront Staghound (BR350)


I add to my LW British force with the iconic Staghound.

History:
The T17E1 or as the British named it, the Staghound was a US designed and produced armoured car. After producing some 250 units, the US decided that the vehicle wasn't suitable. The British army were able to use the vehicle and did to good effect.


The armoured car was a 4 x 4 with twin, rear mounted V6 engines that provided good speed and maneuverability. The car was armed with a 37mm gun and 2 machine guns, one mounted in the hull and the other co-axially.


Aside from the near 3000 Stag hounds produced, there was 1000 AA variants that sported twin 50 cal machine guns. The Staghound III mounted a Crusader turret with the 6 pound gun.


Review:
The Battlefront blister provides the pieces to make either a standard Staghound I or the AA model. I chose to build mine as Staghound Is. This is an older resin and metal model. The hull and turret are both resin. The metal parts are 4 wheels, a 37mm gun, a commander, 2 hatches and an optional AA machine gun.


Assembly was simple. A couple of the wheels needed to be trimmed slightly to fit into the slots on the hull. The hatches also needed a slight trim to fit neatly in the turret. All normal, minor cleanup. Overall, it all went very well.


Unusually, I didn't notice the rough texture of the hull until after the undercoat was on. It is visible but doesn't look too bad.


Unit:
I plan to run these as part of a 2nd Household Cavalry army.


I hope you enjoyed this review.