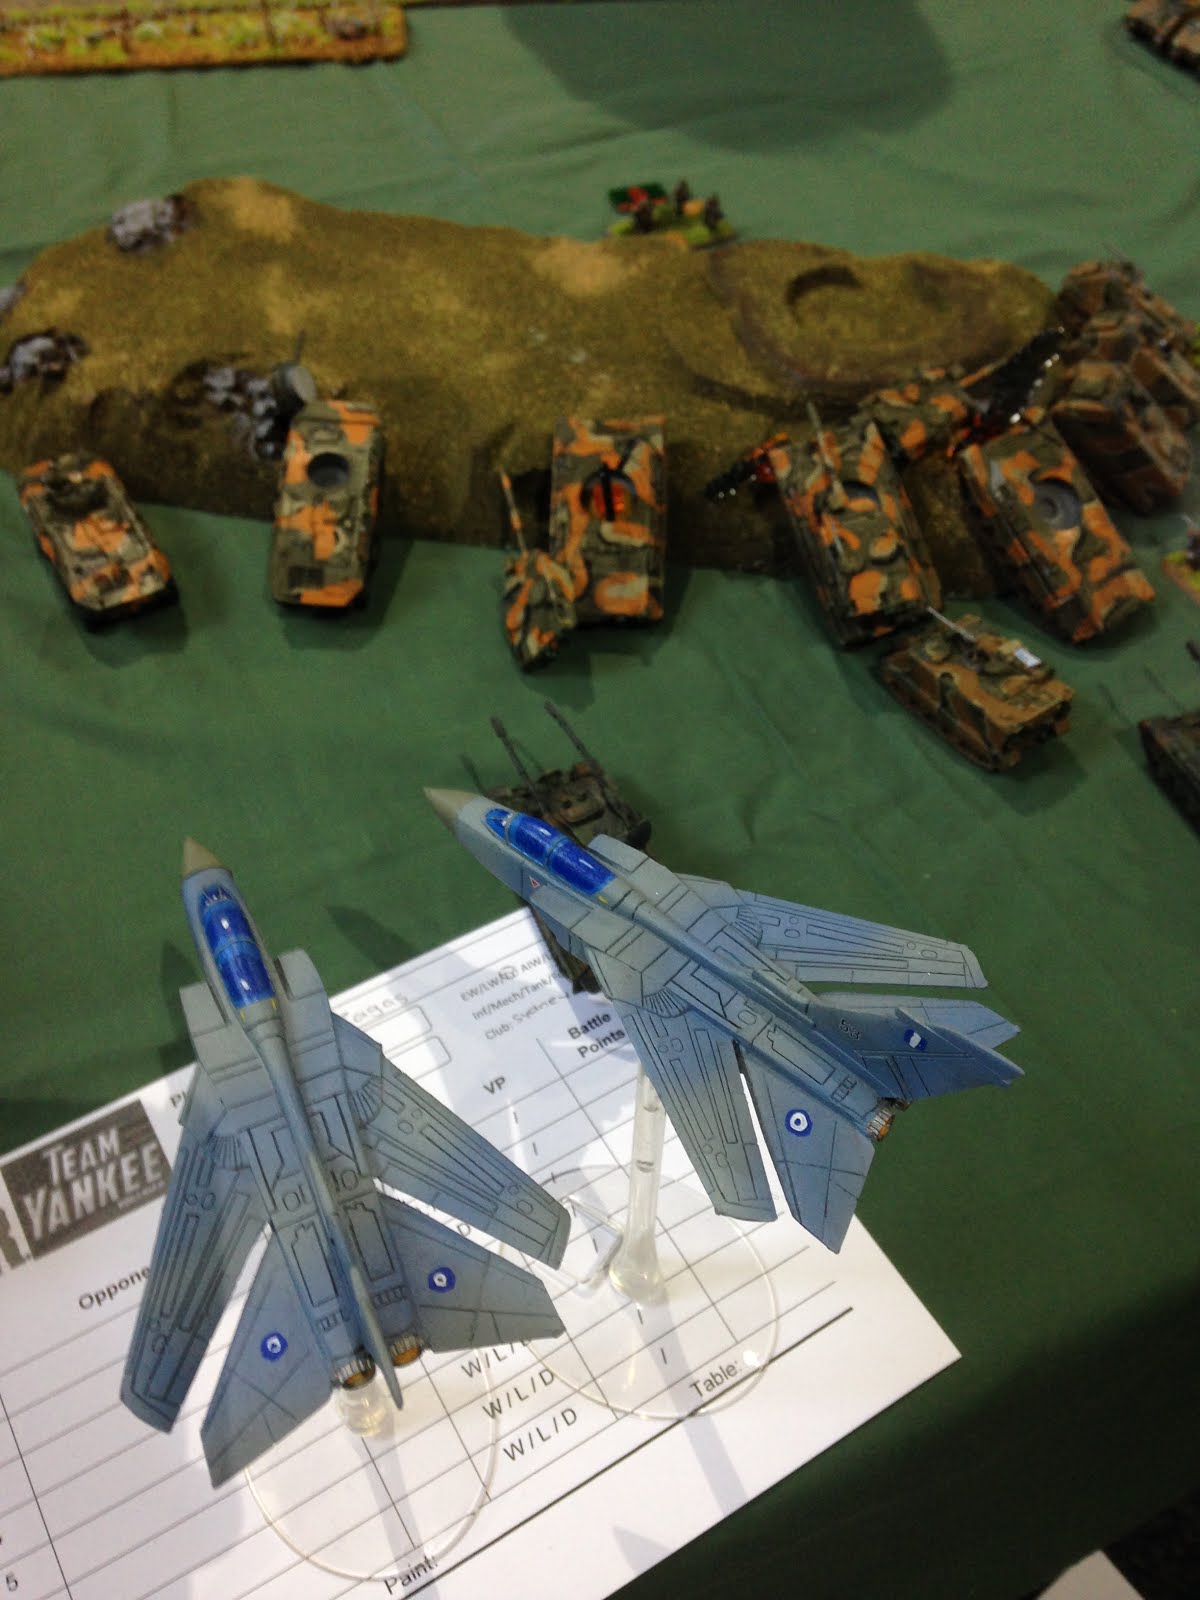
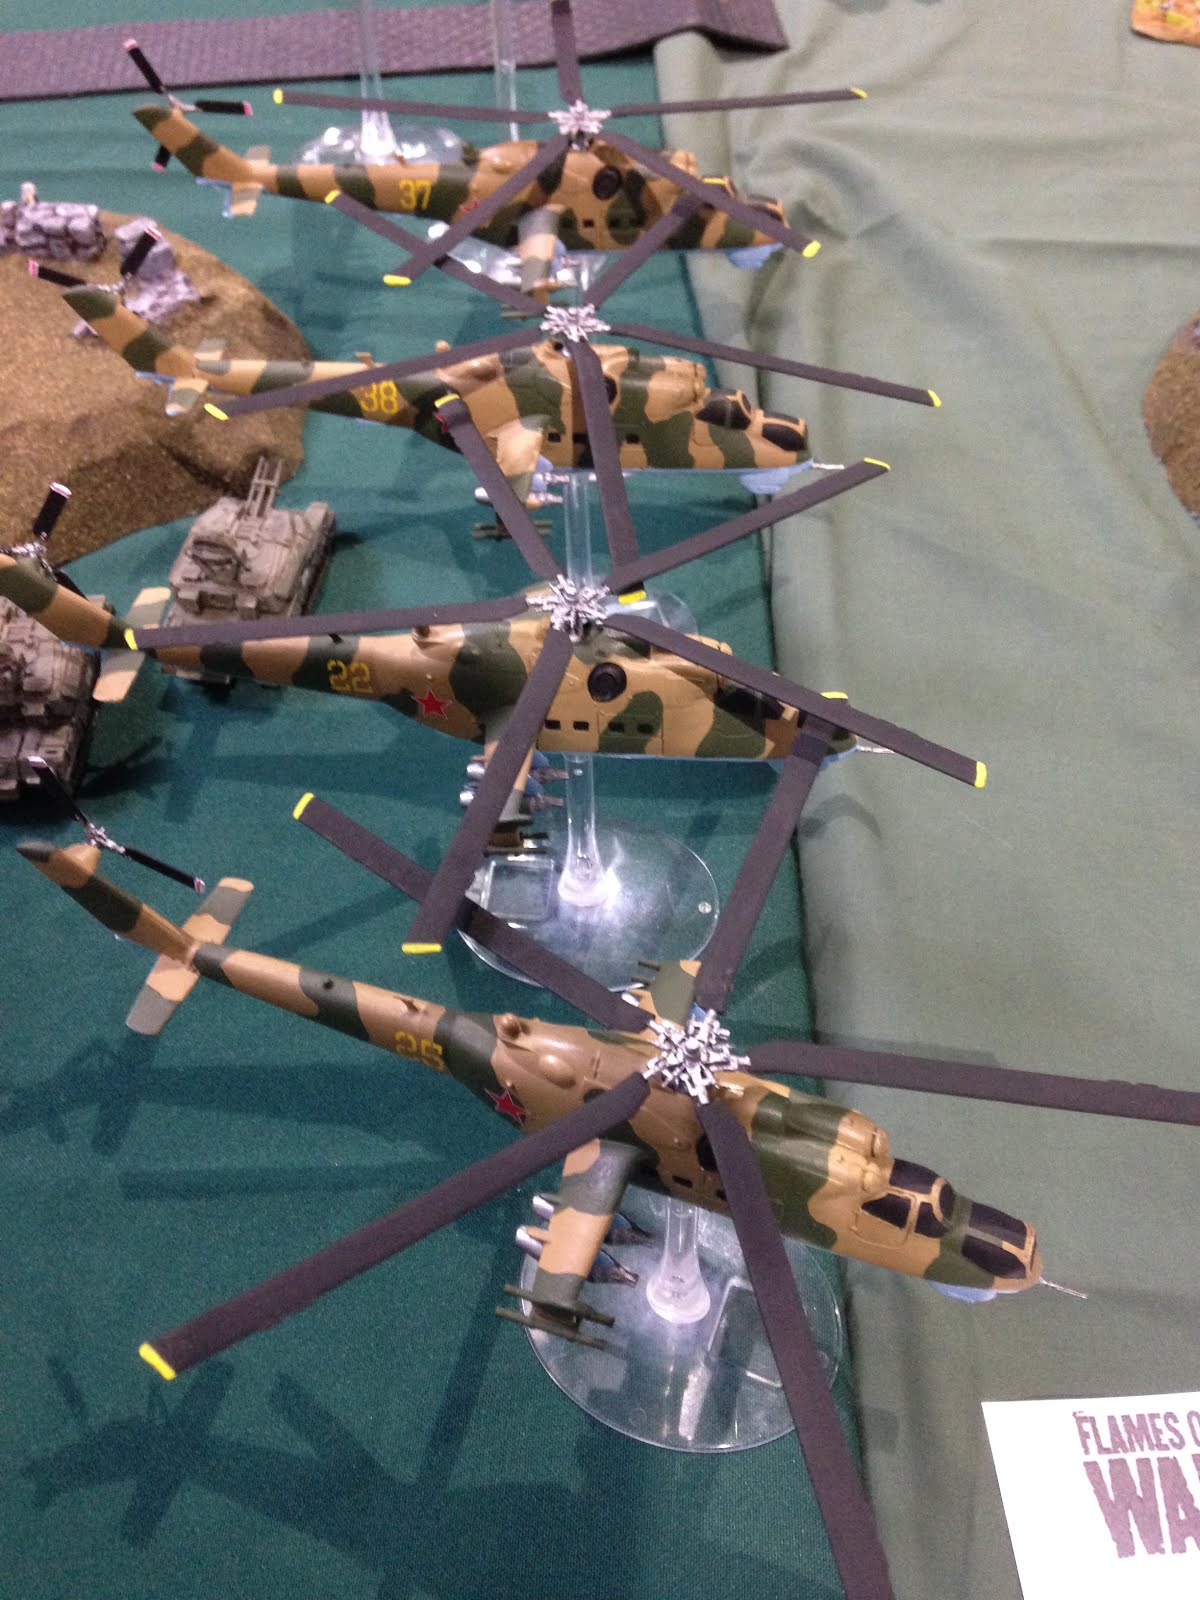
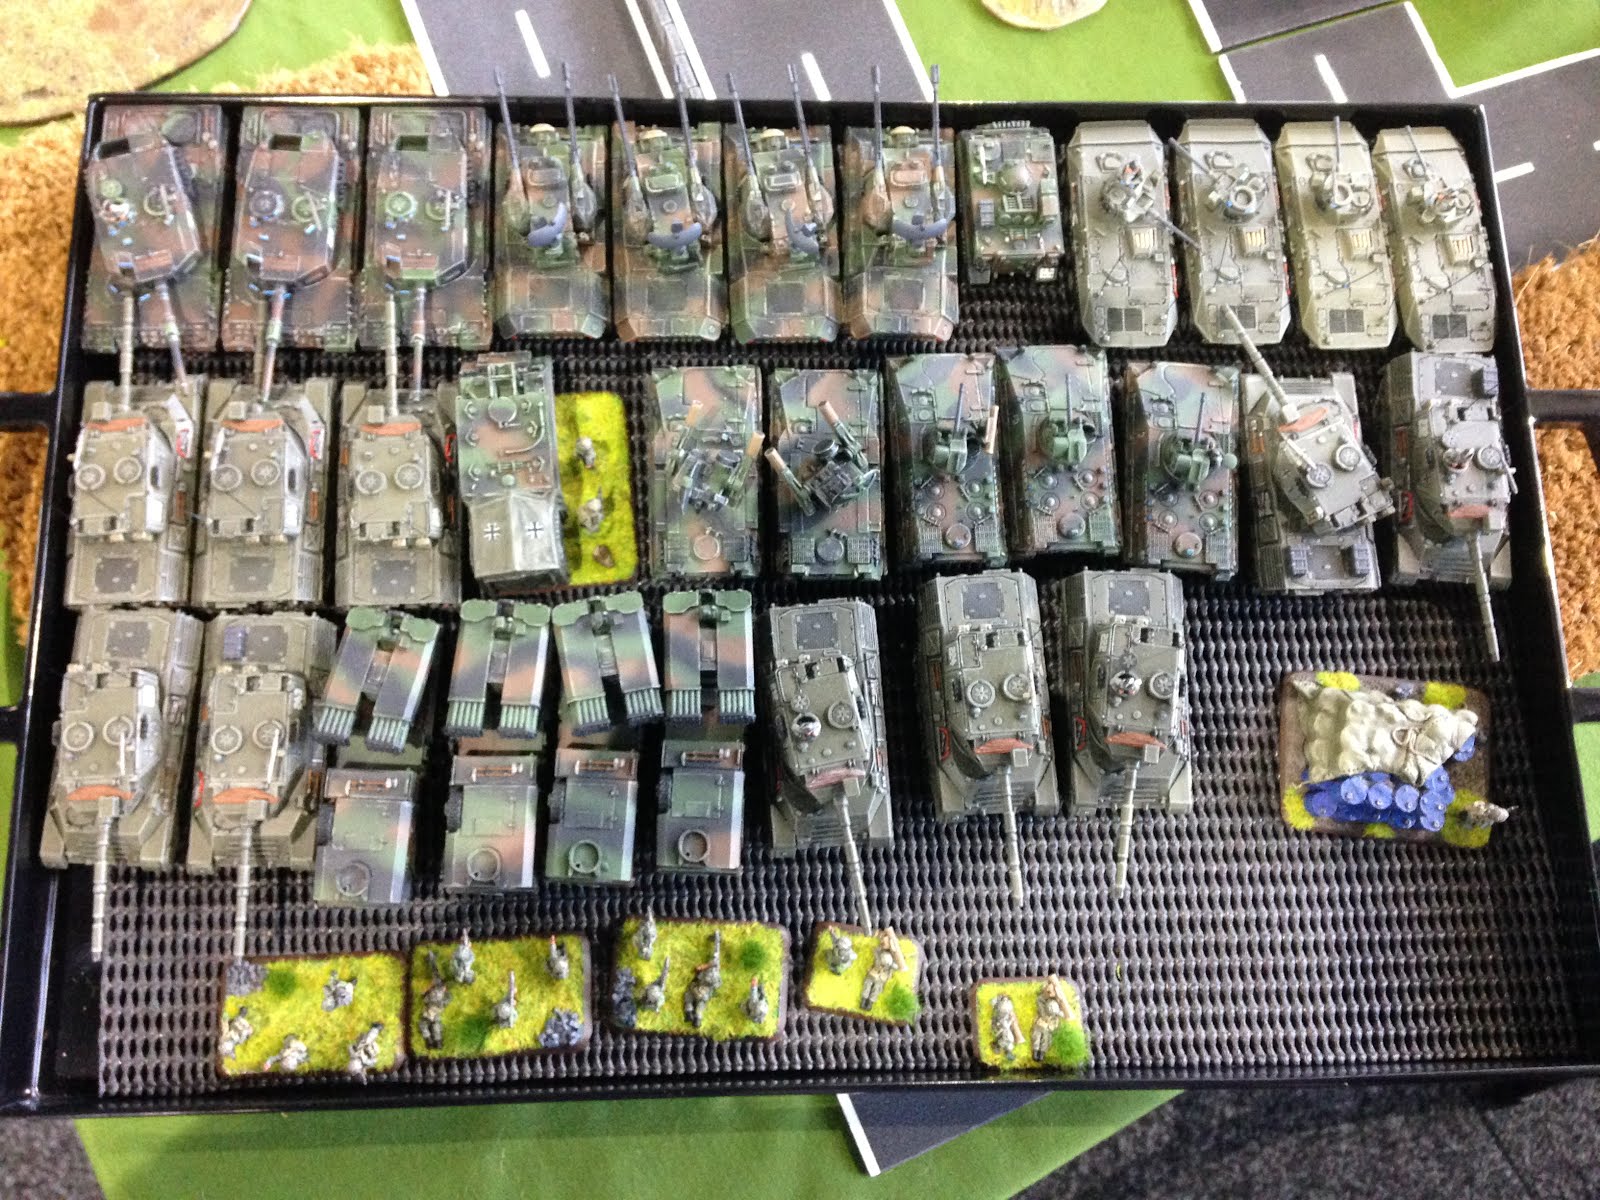
On Friday I brought you some pics of the FOW day 1 armies and tables. You can find the link here. Like the FOW, the Team Yankee armies and tables looked great. Here are the pictures I took:
Tuesday, 31 January 2017


Friday, 27 January 2017
Tournament: Cancon FOW Day 1.
Cancon is Australia's largest wargaming event and is held of the Australia Day weekend in Canberra. The event attracts players and traders from all over Australia and New Zealand. There are always lots of new and exciting things to see, plus lots of regular favorites.
This year there are 5 Flames of War and Team Yankee events:
1. LW 1625
2. EW 1550
3. Team Yankee 100.
4, The MW campaign
5. Night flames LW 1000
I plan to split what I saw at Cancon over several posts. Below are some pics I took of the 3 Flames of War day events. I hope you enjoy.


This year there are 5 Flames of War and Team Yankee events:
1. LW 1625
2. EW 1550
3. Team Yankee 100.
4, The MW campaign
5. Night flames LW 1000
I plan to split what I saw at Cancon over several posts. Below are some pics I took of the 3 Flames of War day events. I hope you enjoy.


 |
| View of the trade area in the main hall |
 |
| Japanese EW Tanks. |
 |
| EW Brit |
 |
| Desert fort table. |
 |
| More desert. |
 |
| One of the desert tables. |
 |
| Brits. |
 |
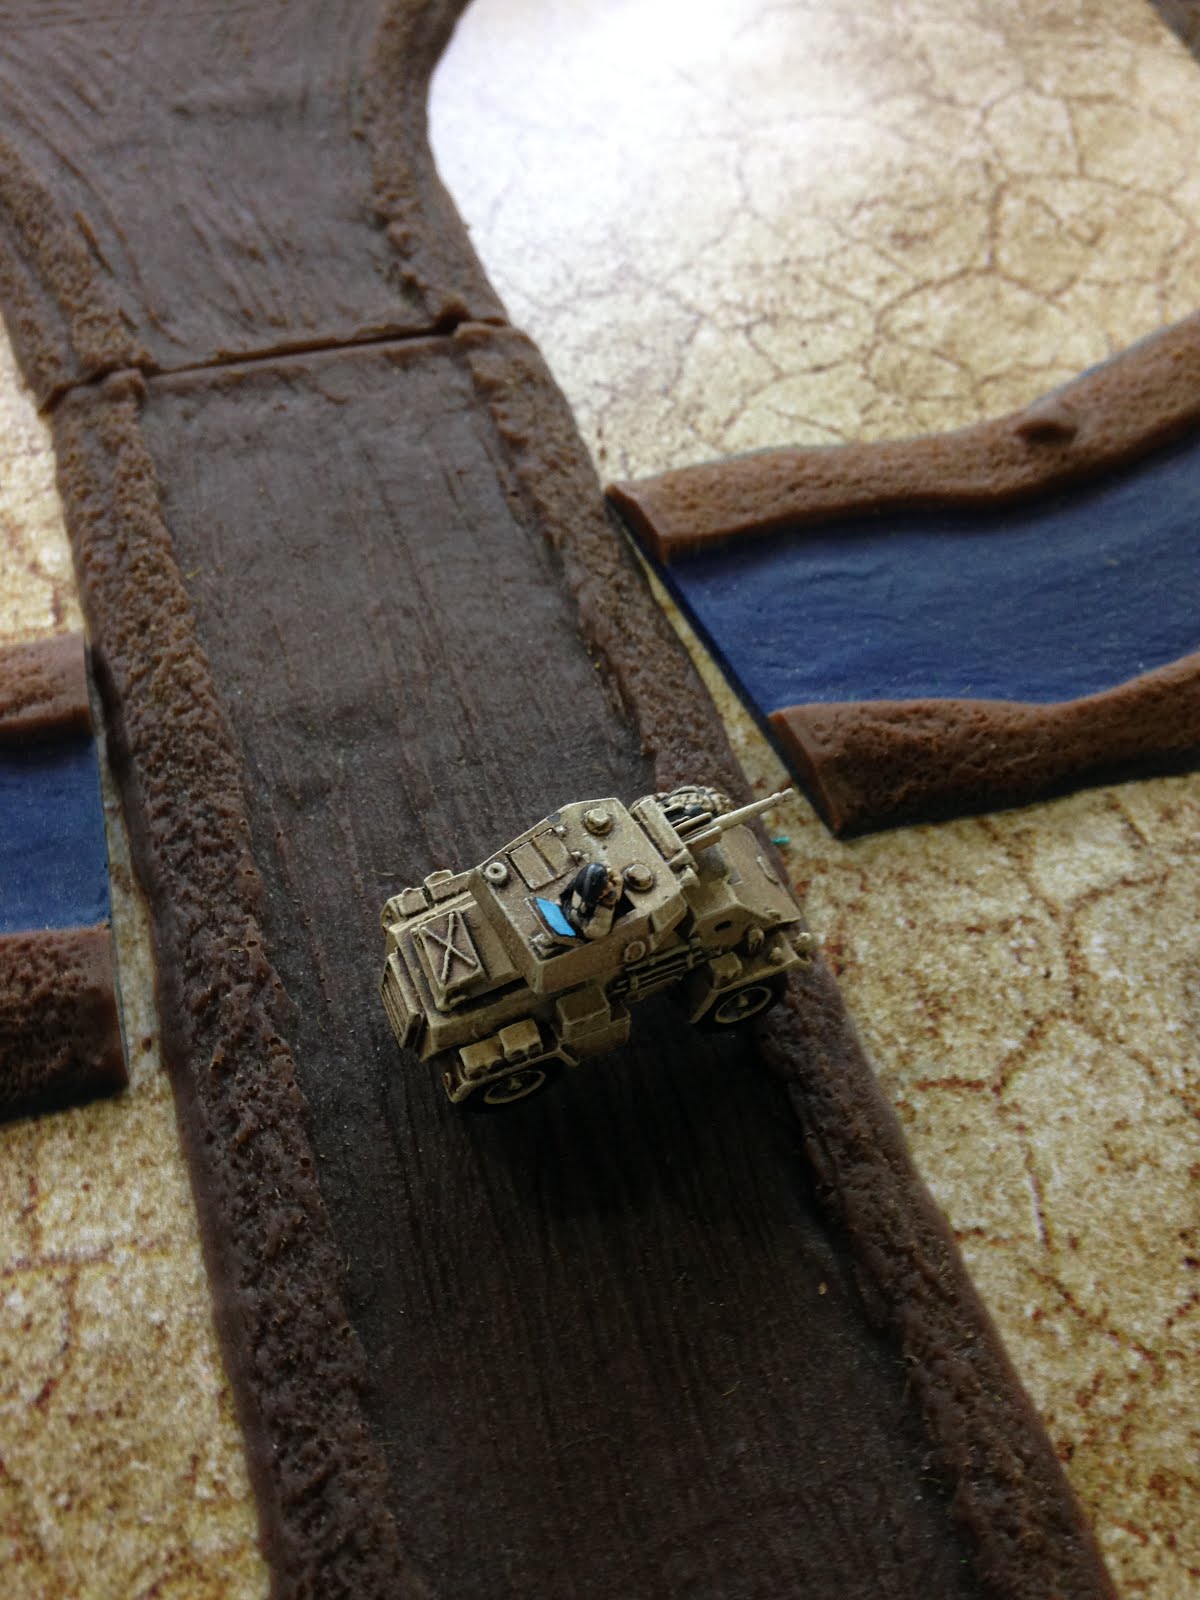
| Portees. |
 |
| Heavy Mortars |
 |
| Strelk |
 |
| Desert Campaign. |
 |
| EW Brits. |
 |
| More tables. |
 |
| One of Ken's tables. |
 |
| The campaign event has it's own official water. |
Thursday, 26 January 2017
Review: Battlefront Gepard (TGBX07)
So, next up for my West Germans are the Gepards.
 |
| Photo from wikipedia.com |
The Flugabwehrkanonenpanzer Gepard or Flakpanzer Gepard was a self propelled anti aircraft vehicle developed in the 1960s and fielded for decades from the 1970s by the Bundeswehr. The Gepard (Cheetah) was based on the Leopard 1 hull but boasted 2 x 35mm cannons. The vehicles is fitted with a search radar at the rear and a radar and laser finder at the front of the vehicle.
 |
| Photo from www.armorama.com |
The box from Battlefront (TGBX07) contains two models and a unit card. These are resin/metal models with a slight twist. Instead of metal tracks, the tracks are actually resin. The pack contains enough for 2 vehicles. Each model is made up of a hull, 2 tracks, a turret, 2 auto-cannons, a radar dish and receiver. The turret recess is modeled for magnets but there are none included. There is also no decals.
 |
| Box Cover. |
 |
| Standard packaging and unit card. |
 |
| Box contents. |
Pictures:
 |
 |
 |
 |
 |
Monday, 23 January 2017
Painting: Battlefront Panzer Grenadier Zug for Team Yankee. (TGR702)
A while back I reviewed the Battlefront Panzer Grenadier
blister for Team Yankee. You can find that review here. You may recall, I
outlined my paint plan for the army here. Since then, I have made some small
changes. For these figures, I used the Soviet Olive Green for Nato Green. I
think it looks pretty good.
 |
| The full platoon plus formation commander. |
Painting these boys up really was an exercise in painting
Green. By the end, the black/gray was a welcome relief! Having said that, there
was only 6 stands so I got it finished pretty quickly
 |
| The MG3 teams |
- Being this is the first non-vehicle unit for the army, I will go through the steps I took.
- After basing up the unit, I hit it with a white undercoat.
- I painted the uniform German Field Gray
- I then painted the flesh.
- Next I hit the Milan missiles, RPGs and webbing with Brown Violet
- I then hit the boots, metal parts of the G3 and the RPGs black grey.
- Finally the helmets and gunstocks were Olive Green.
- I then hit the models with an army painter strong tone.
- Once dry, I started on highlights. First up raw German Field Green on the uniforms.
- Then a mix of Olive Green with a tiny amount of Iraqi Sand for the Nato Green parts.
- The Brown violet with again a small amount of Iraqi Sand for the Milan missiles and webbing
- Finally the basing. I used burnt umber with a highlight of flat earth. I then used some army painter tufts and some loose flock.
 |
| Rear view |
So, the army grows by a formation commander and a Panzer
Grenadier platoon. I will likely paint up another Panzer Grenadier platoon at
some point but not before I paint some more vehicles.
 |
| 2 Milan missile teams and the formation commander. |
 |
| Another view. |
 |
| Rear view. |
 |
| Milan missile teams |
 |
| Formation command up close. |
I hope you enjoyed this article!
Subscribe to:
Posts (Atom)